View All Posts
read
Want to keep up to date with the latest posts and videos? Subscribe to the newsletter
HELP SUPPORT MY WORK: If you're feeling flush then please stop by Patreon Or you can make a one off donation via ko-fi
#3D MODELING #CAD #COMPONENT LIBRARIES #EASYEDA #EASYEDA2KICAD #FREECAD #FUSION 360 #KICAD #LCSC #PCB DESIGN #PYTHON #VRML

I used to be a big user of EasyEDA - it’s a nice online Schematic and PCB Layout tool. And I’d recommend it to most people - especially people who are just getting started with PCB design.

The big reason for this is that it has very tight integration with the LCSC parts catalog- and this includes component symbols, footprints and, as a bonus, lots of 3D Models.

EasyEDA - Symbol, Footprint and 3D Model

But there is one missing piece of functionality in EasyEDA - there’s no way to export a 3D model of your completed PCB.

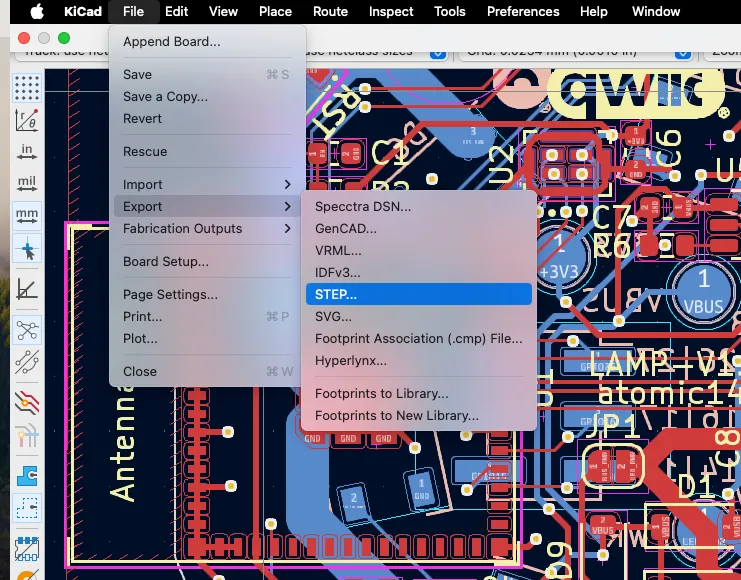
This is one of the main reasons that I switched over the KiCad. In KiCad you can export your PCB as a 3D model in a variety of different formats.

And you can then import this file into your favourite CAD package. This is incredibly useful if you’re designing boxes or enclosures for your board.

A board imported into Fusion 360

KiCad has a very big built in library, but it doesn’t have a lot of parts. And if your component is missing from the library it’s up to you go and hunt down or create the symbol, footprint and 3D model (if you need that).

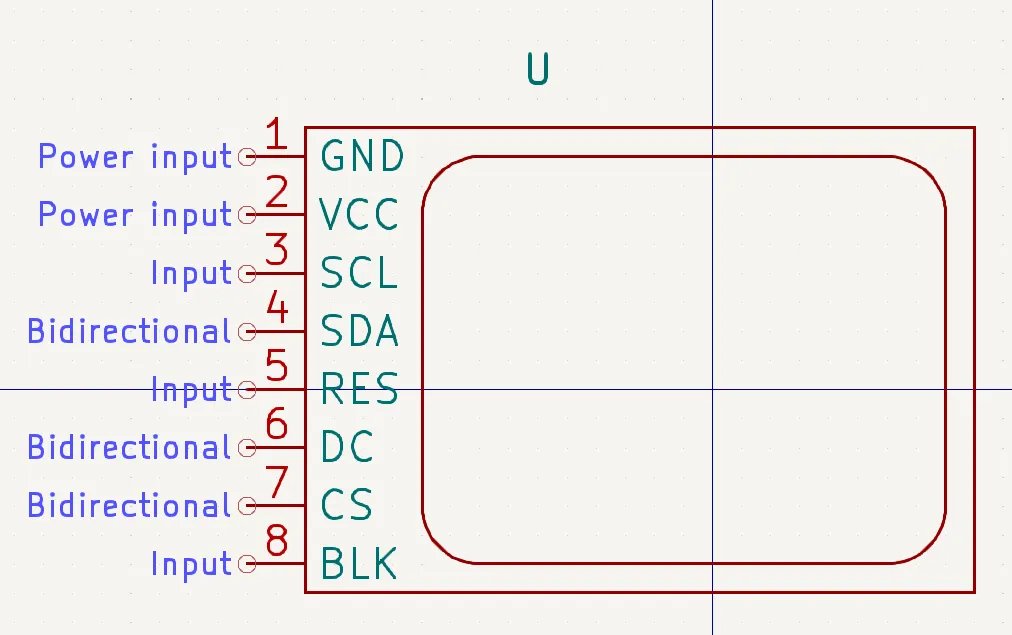
Symbols are generally straightforward. You just need to create some kind of logical representation of the component - you’re pretty free here to do whatever makes sense for you.

A Symbol I made For A Display

For footprints, life can be a bit more difficult. KiCad has most standard footprints built in - and if you’re lucky you can just use one of those.

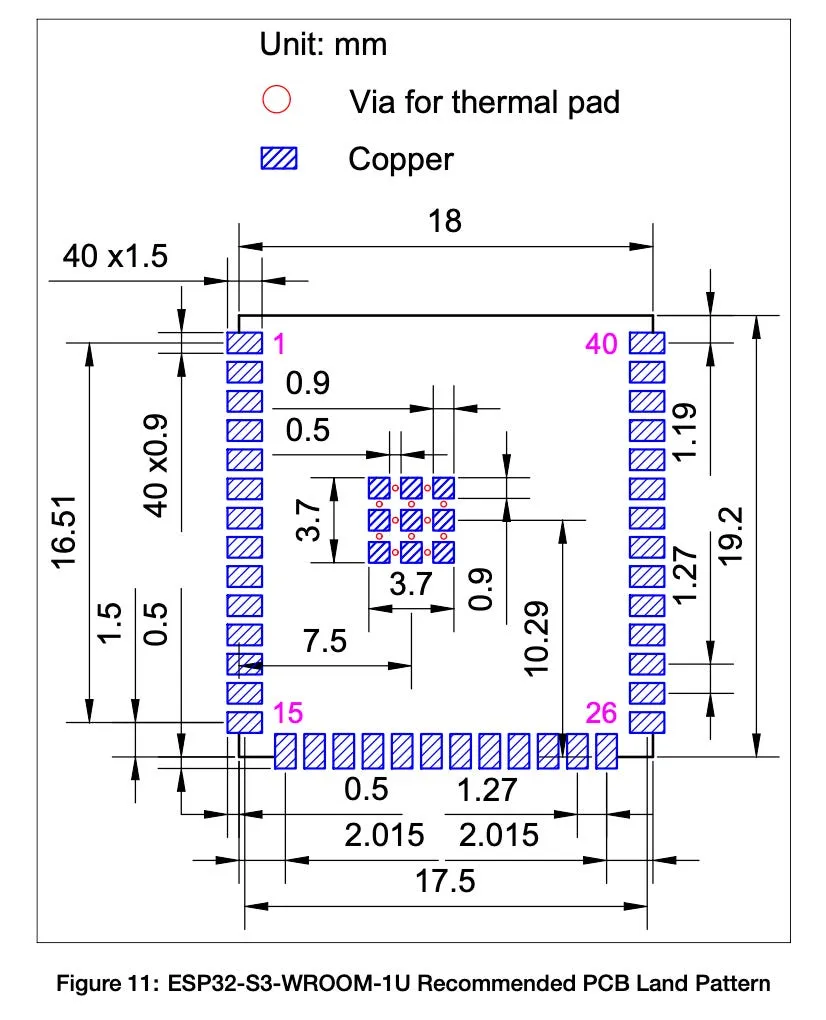
If the footprint is not standard then you need take a look at the data sheet of your component and recreate their recommended footprint.

Example PCB Footprint From a Data Sheet

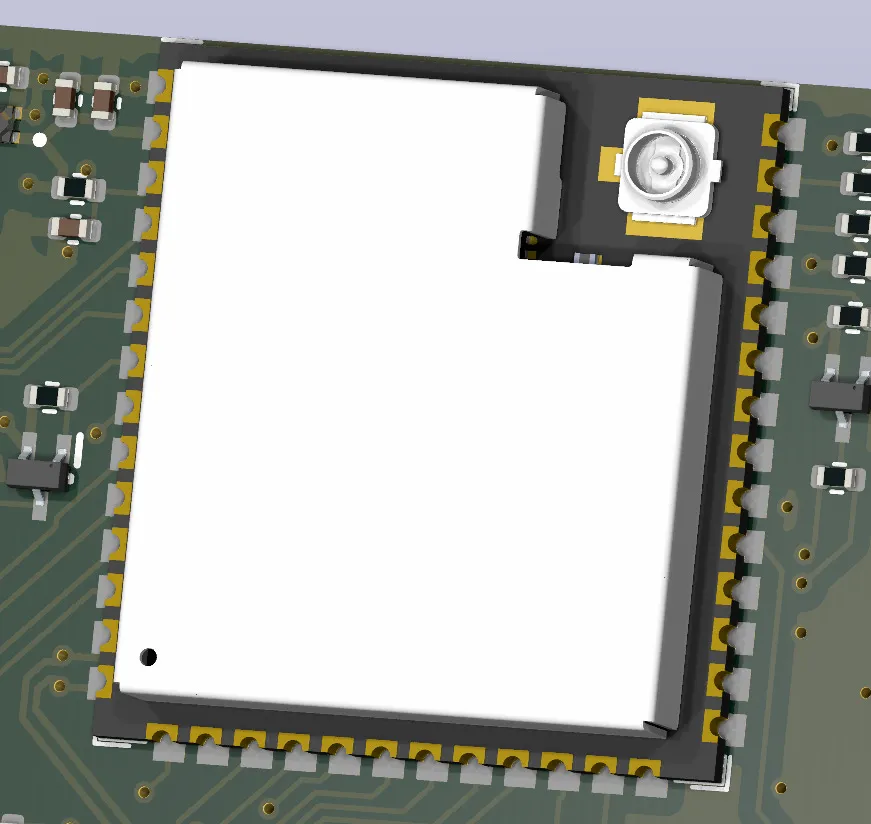
For 3D models, it’s time to break out your CAD software or hit the internet to see if someone has already done the hard work.

Now, a lot of manufacturers will make all three of these elements available and a bit of googling can save you a lot of effort. For example Espressif have a KiCad library for all their modules that includes symbols, footprints and really nice 3D models.

KiCad Library

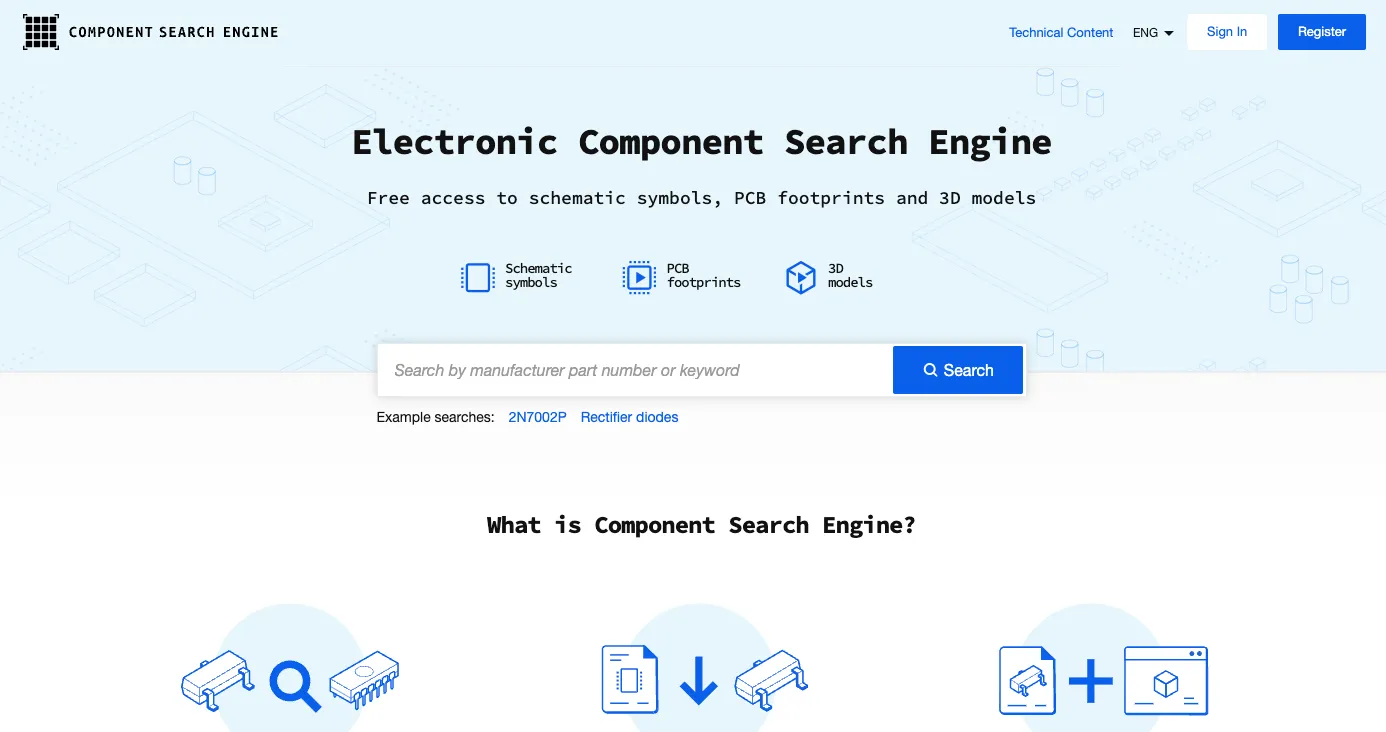
There are also various websites that you can search such as componentsearchengine.

Component Search Engine

But, for a KiCad user who might shop on LCSC for their parts it’s a bit annoying to see this nice “EasyEDA Model” and not be able to use it.

EasyEDA Models Available on LCSC

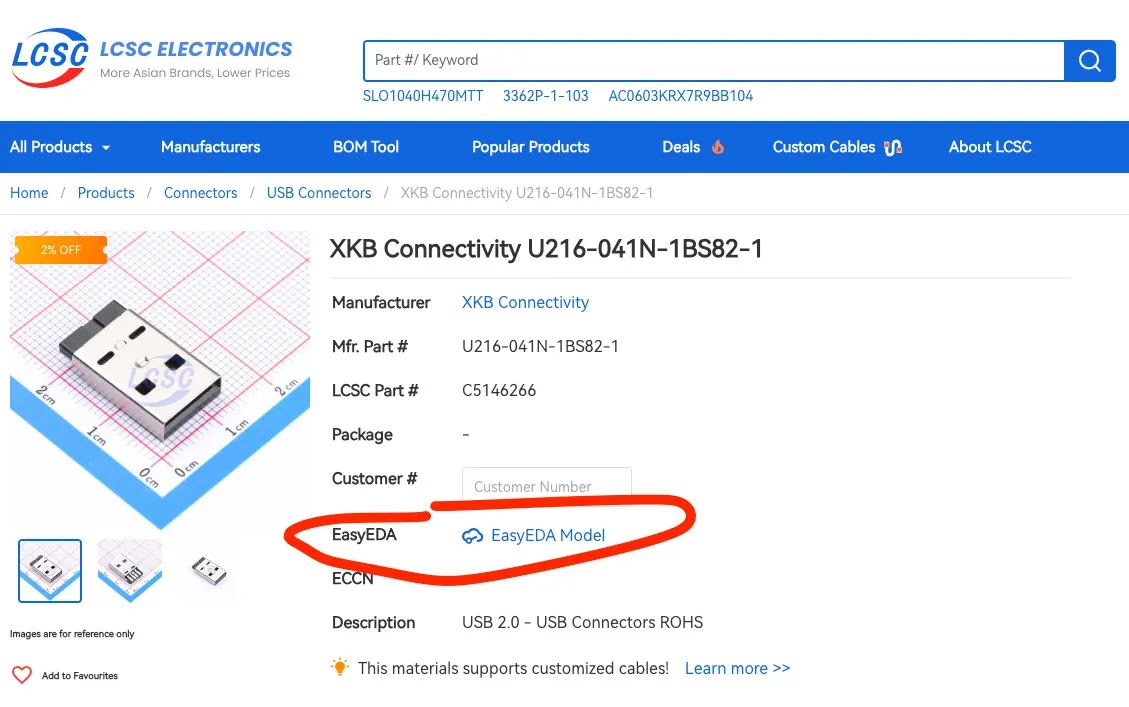
Luckily, there is a solution. There’s a very nice Python package called easyeda2kicad this will take an LCSC id and convert the EasyEDA model into a nice KiCad symbol, footprint and 3D model - pretty awesome.

There are plenty of instructions on the GitHub repo. But the basic instruction is to run:

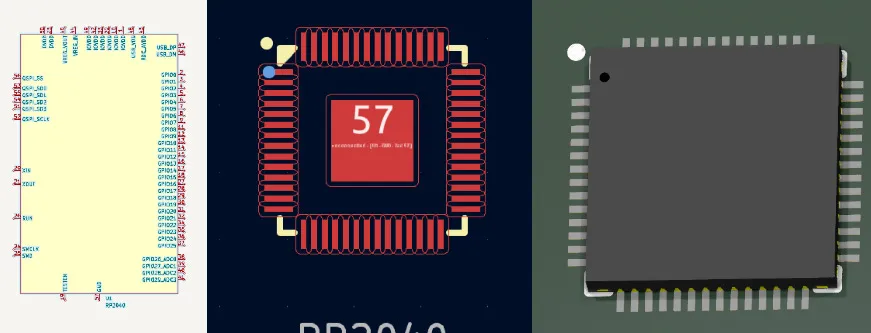
easyeda2kicad --full --lcsc_id=C2040

This will pull down everything you want for the C2040 component (which is a Raspberry Pi Pico). The 3D models are not the most exciting - but they do the job nicely.

KiCad Symbol, Footprint and 3D Model Imported from LCSC

As I say, there are full instructions on the GitHub repo, but setup is pretty straightforward. You need to run the command at least once to create the folders and symbol library. You can check the output of the command to see what the default paths it uses are:

[INFO] Created Kicad symbol for ID : C2040
       Symbol name : RP2040
       Library path : /Users/chrisgreening/Documents/Kicad/easyeda2kicad/easyeda2kicad.kicad_sym
[INFO] Created Kicad footprint for ID: C2040
       Footprint name: LQFN-56_L7.0-W7.0-P0.4-EP
       Footprint path: /Users/chrisgreening/Documents/Kicad/easyeda2kicad/easyeda2kicad.pretty/LQFN-56_L7.0-W7.0-P0.4-EP.kicad_mod
[INFO] Created 3D model for ID: C2040
       3D model name: LQFN-56_L7.0-W7.0-P0.4-EP
       3D model path: /Users/chrisgreening/Documents/Kicad/easyeda2kicad/easyeda2kicad.3dshapes/LQFN-56_L7.0-W7.0-P0.4-EP.wrl

In my case you can see that it’s writing everything to: /Users/chrisgreening/Documents/Kicad/easyeda2kicad

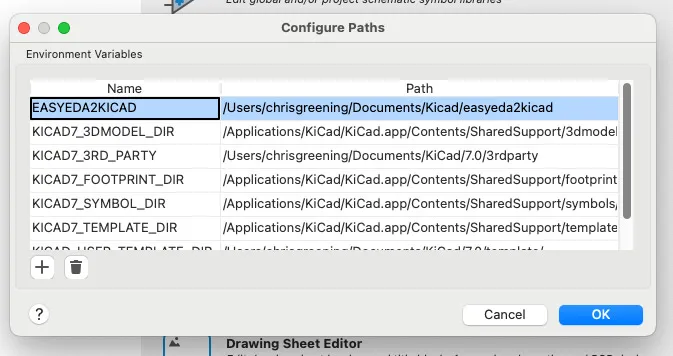
Now in KiCad goto Preferences → Configure Paths and add an entry for EASYEDA2KICAD.

KiCad Paths

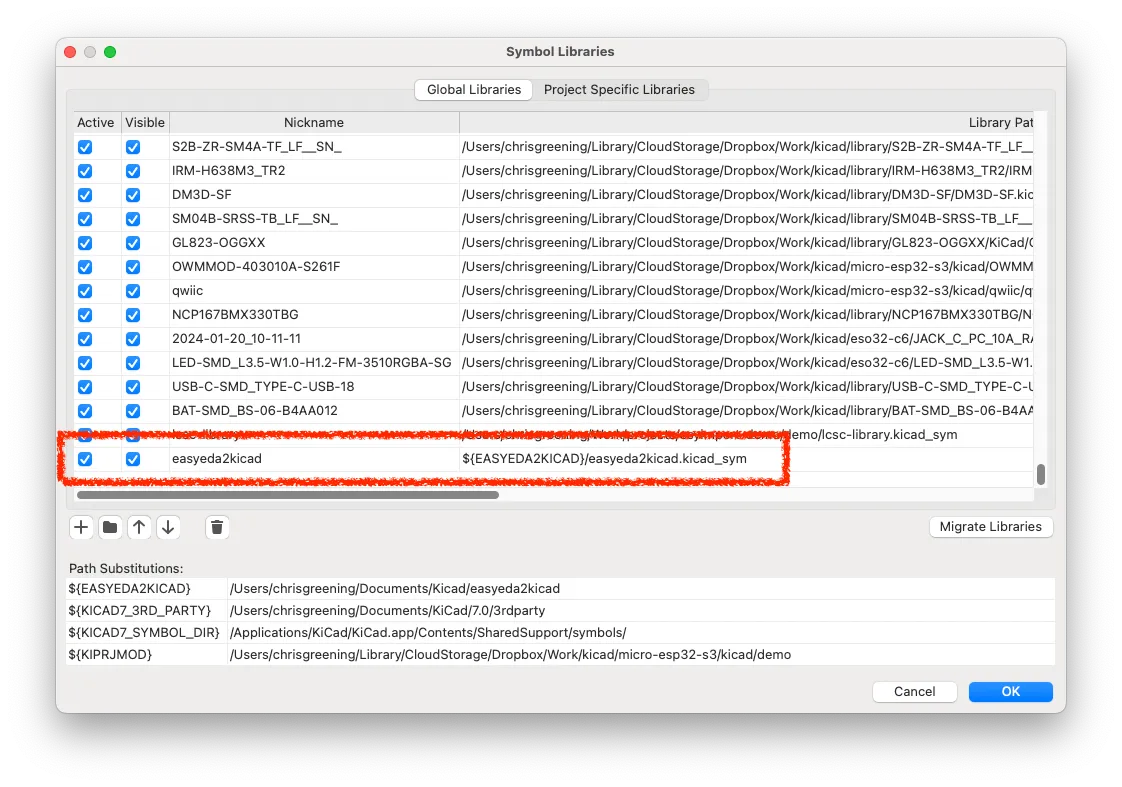
Then goto Preferences → Manage Symbol Libraries and add the symbol library:

Symbol Libraries

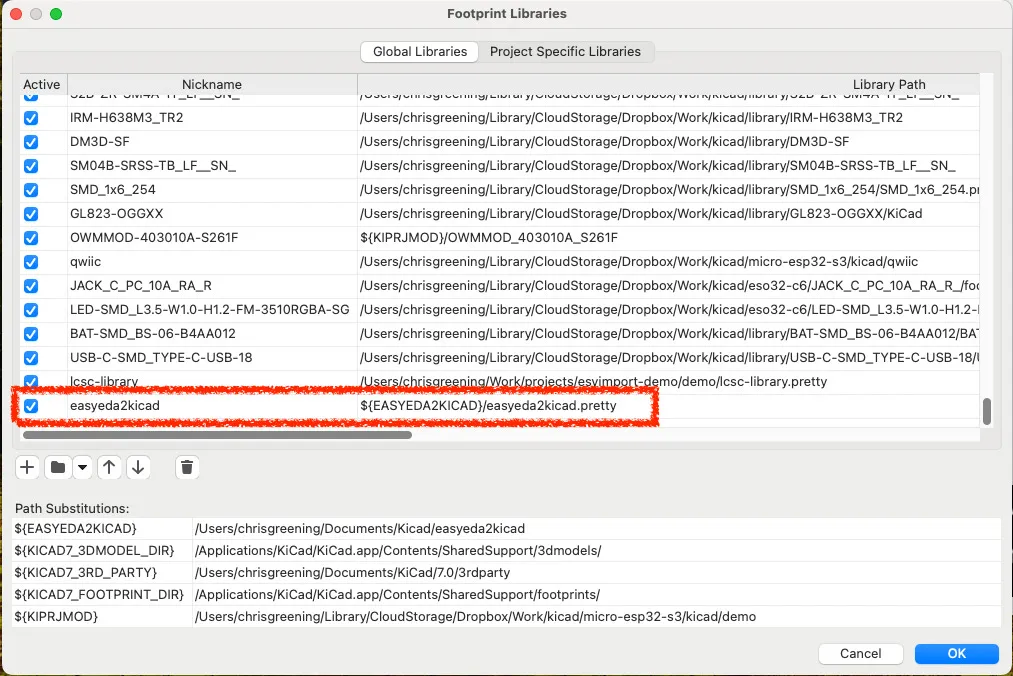
And finally goto Preferences → Manage Footprint Libraries

Footprint Libraries

That’s it! From now on every time you run the import command the new symbols will automatically appear in KiCad.

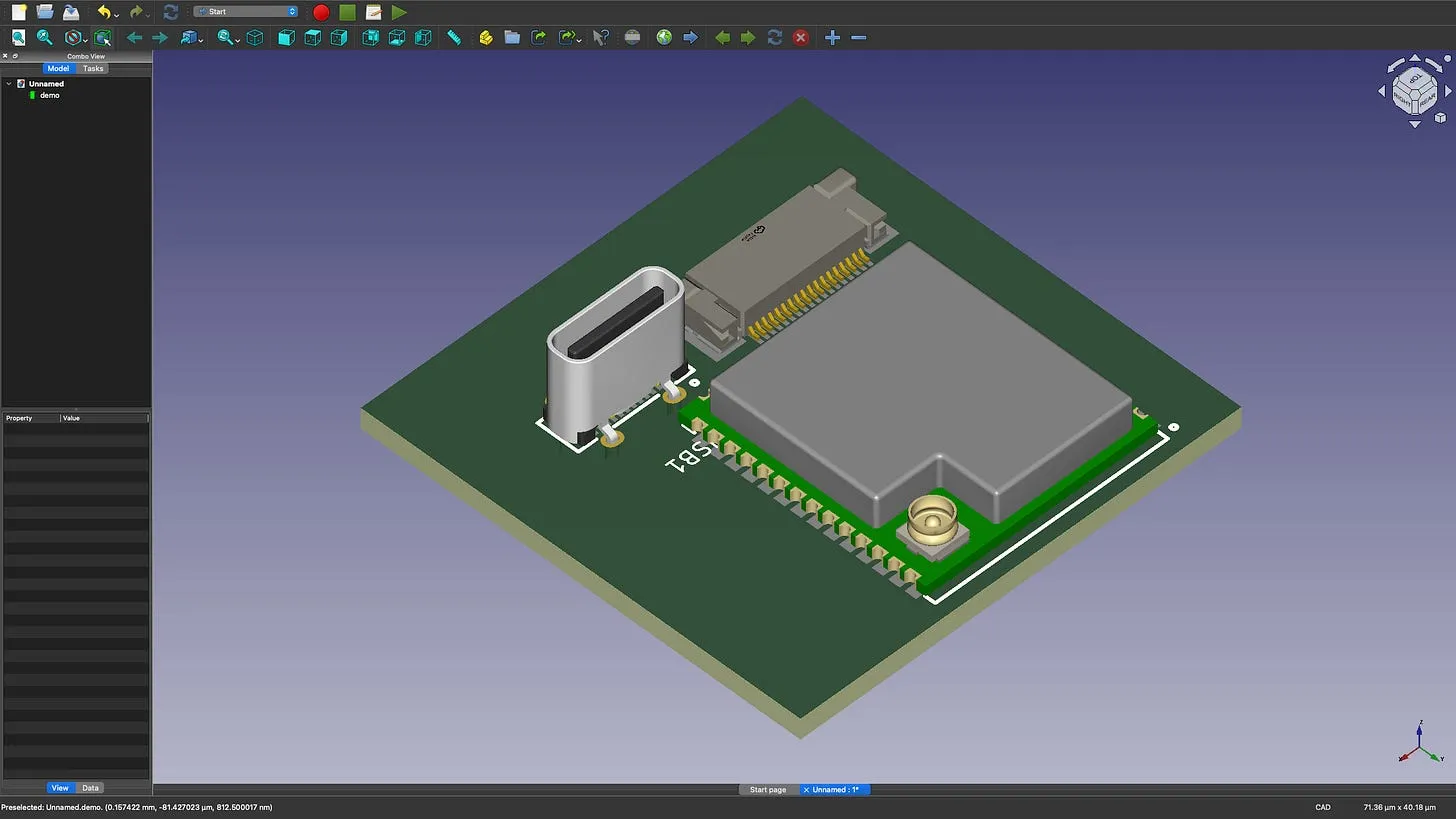
The only slight downside is that the models all seem to be VRML based. So you’ll need to export your PCB in that format. Freecad seems to handle this without any problems, so it’s not the end of the world.

Freecad showing a demo PCB in all its glory

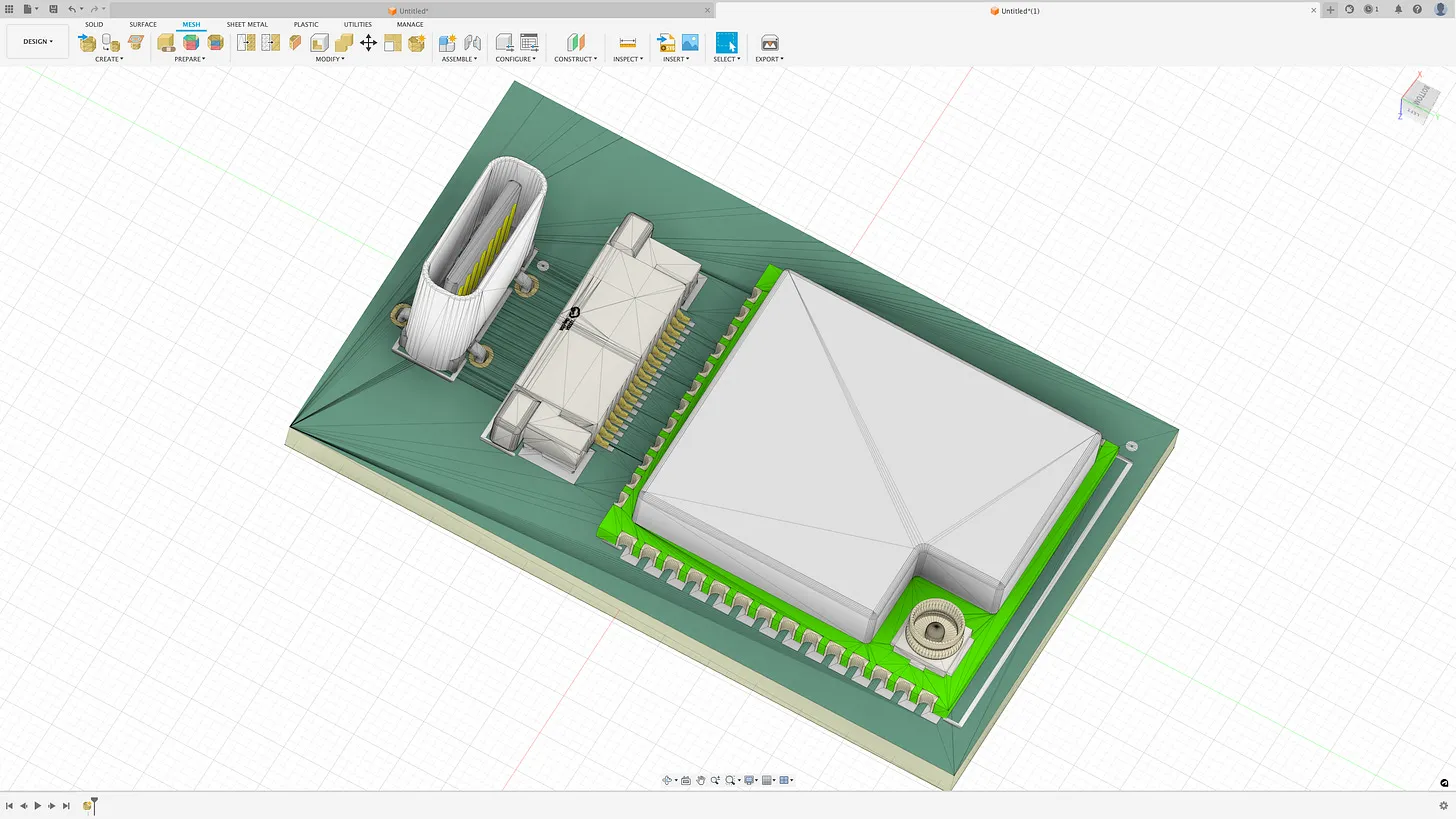
For loading VRML into Fusion360 you’ll need to use something like blender to export as an obj file and then use the “insert mesh” in Fusion360. It’s not as good a step file, but it will do the job.

Imported into Fusion360

WARNING!

Now, as always with any footprint you download from the internet, there’s a big WARNING. Always double check the footprint against the data sheet for your component. PCB manufacturers will just do as they are told and if the footprint doesn’t match the component you are trying to place you’re out of luck.

Share

#3D MODELING #CAD #COMPONENT LIBRARIES #EASYEDA #EASYEDA2KICAD #FREECAD #FUSION 360 #KICAD #LCSC #PCB DESIGN #PYTHON #VRML

Related Posts

KiCad PCBNew Python Scripting Cheat Sheet - Recently, I've been dipping my toes into the world of KiCad action plugins, specifically one for generating coils. In this post, I've jotted down some key learnings that would serve as a guide for myself in the future and for anyone else interested in building KiCad action plugins. Here, you'll find insights on getting the current board, adding objects, specifying the start and end points for tracks, creating vias, adding silk screen text, flipping text to the other side, connecting things to your PCB, and more. You'll find code snippets for these and links to additional resources. As my understanding deepens, I'll keep updating this post with new findings and corrections of any errors.
Scripting KiCad to make coils - I've been diving deep into the world of PCB (Printed Circuit Board) coils, inspired by Carl Bugeja's incredible PCB motors! After deciding to set up an automated process for creating the coils rather than manually drawing them (can you imagine?), I found our main constraints became track width and spacing, and the number of layers we could use. During the process of creating spirals for our coils, I encountered some interesting problems - spirals are easy, but what about arbitrarily shaped coils? My attempts ultimately lead me to develop more efficient algorithms and KiCad plugins to generate these special coils. A rewarding challenge of math, programming, and electronics! My code has been published on GitHub, and I’m eager to see how others might make use of it!

Related Videos

Easy - KiCad Symbol, Footprint and 3D Model! - In this video, I walk you through the transition from EasyEDA to KiCad for your PCB designs. While we lose the tight integration with LCSC parts, we gain the ability to export 3D models in KiCad. I discuss the challenges of finding certain components and how a handy script can help pull LCSC components into KiCad. We also explore how to position and adjust components correctly. Needing enclosures for your design? We discuss how to export these 3D models for review and even import them into Fusion360. To top it off, I mention the value in using PCBWay for your PCB needs, including 3D printing and CNC work. It's a whirlwind of information, aimed to help you navigate and enhance your PCB design workflow.
KiCad Tutorial - Custom Symbol, Footprint and 3D Model - Learn how to create custom footprints, symbols, and 3D models in KiCad 6 with this step-by-step guide. Design your own LED filament for a PCB project and watch it come to life in a 3D preview!
Mastering KiCad: Design & Build Your Custom Stereo Amplifier Board! - Learn how to create a version 2 of an I2S stereo amplifier board using KiCad in this engaging tutorial. Find out how to set up design rules, import symbols and footprints, generate the PCB layout, and add wiring and custom board outlines.
Simple Multi USB-C Power Module - With my growing list of USB-C powered devices and just one cable, I found myself underpowered on my bench. My solution? Scouring the depths of AliExpress for USB-C power delivery, QC2, and QC3 step-down converters. After initially purchasing individual boards, I struck gold with an ultra-convenient 4-in-one board. Paired with a Meanwell power supply, I enjoyed pushing my new setup to its limits with the MiniWare electronic load tester. Although managing to pull a decent 65W, I'm dreaming up a 3D printed enclosure and eyeing up MiniWare's display modules for future improvements. I reckon, while I'm battling delayed PCBs and dodgy components, it's certainly a fun way to help power up my bench!
DIY Christmas Tree PCB Project: Step-by-Step Tutorial & Review - Create your own flashy DIY Christmas tree with PCBs in this step-by-step tutorial, packed with tips for soldering, designing in KeyCad, and more!
HELP SUPPORT MY WORK: If you're feeling flush then please stop by Patreon Or you can make a one off donation via ko-fi
Want to keep up to date with the latest posts and videos? Subscribe to the newsletter
Blog Logo

Chris Greening


Published

> Image

atomic14

A collection of slightly mad projects, instructive/educational videos, and generally interesting stuff. Building projects around the Arduino and ESP32 platforms - we'll be exploring AI, Computer Vision, Audio, 3D Printing - it may get a bit eclectic...

View All Posts