View All Posts
read
Want to keep up to date with the latest posts and videos? Subscribe to the newsletter
HELP SUPPORT MY WORK: If you're feeling flush then please stop by Patreon Or you can make a one off donation via ko-fi
#ADAFRUIT #BLUETOOTH #BLUETOOTH DONGLE #IBEACON #IOS #RASPBERRY PI #UDEV RULES

Following the instructions here I decided to try turning my Pi into an iBeacon.

According to the artical most Bluetooth 4.0 dongles should work so I ordered the first one I found:

dongle

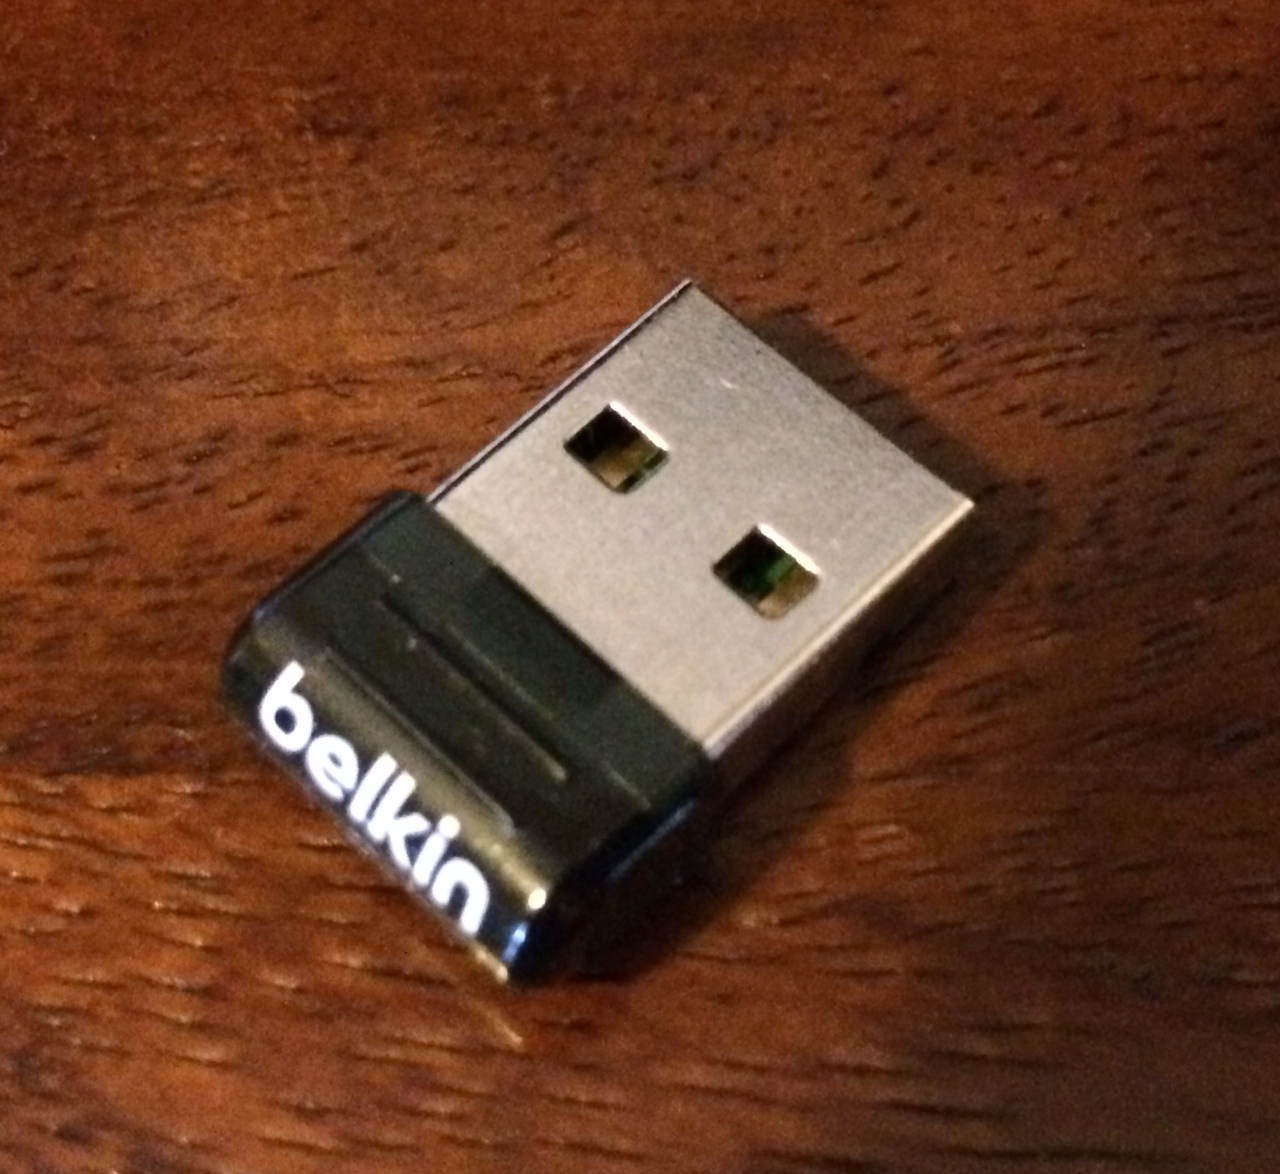
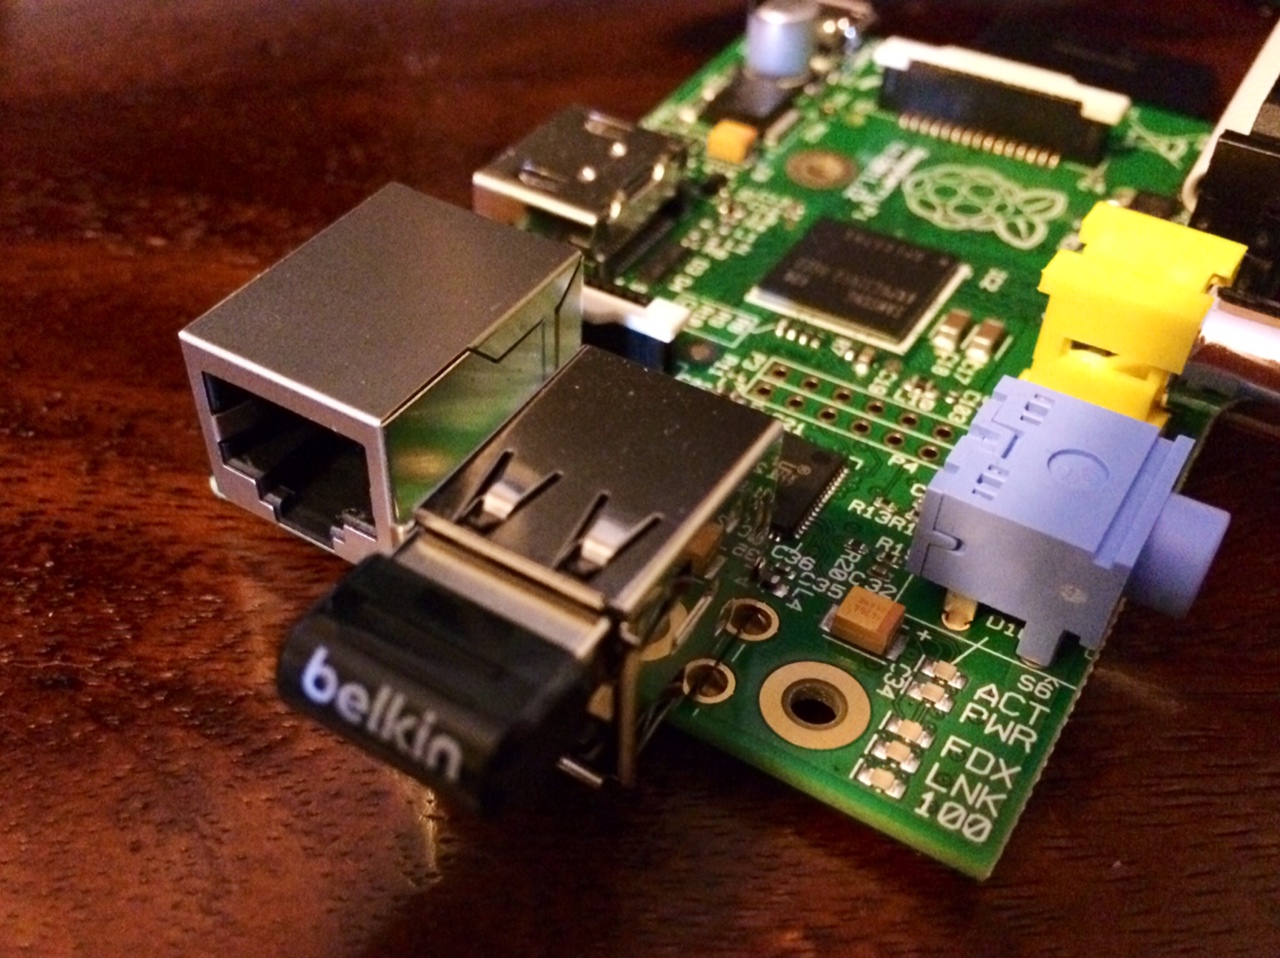
And once it arrived plugged it in:

pi and dongle

To get set up we need to install some stuff:

Make sure everything is up to date

sudo apt-get update
sudo apt-get upgrade

And then install the bluetooth package (this will take quite some time as it installs a lot of stuff):

sudo apt-get install bluetooth

Restart your pi and see if your dongle is detected.

lsusb
hcitool dev

Sadly my device shows up with lsusb, but doesn’t show up in hcitool. Forcing it to load makes things work:

sudo su
modprobe btusb
echo "050d 065a" > /sys/bus/usb/drivers/btusb/new_id 
hcitool dev

Devices:
	hci0	00:02:72:C5:DE:61

To get my device to be recognised at boot time and on demand when it’s plugged in we need to add some udev rules - I found a nice guide here.

Create a new file /etc/udev/rules.d/95-belkin-bluetooth.rules

# Rules for hotplugging belkin low power bluetooth 
SUBSYSTEM=="usb", ATTRS{idVendor}=="050d", ATTRS{idProduct}=="065a", RUN="/etc/belkin_bluetooth.sh"

And another file /etc/belkin_bluetooth.sh

#!/bin/sh
modprobe btusb
echo 050d 065a > /sys/bus/usb/drivers/btusb/new_id

This file needs to be executable by root.

Now you’ve got your dongle working you can turn it into an iBeacon!

sudo hciconfig hciO up
sudo hciconfig hci0 leadv
sudo hciconfig hci0 noscan
sudo hcitool -i hci0 cmd 0x08 0x0008 1E 02 01 1A 1A FF 4C 00 02 15 E2 0A 39 F4 73 F5 4B C4 A1 2F 17 D1 AD 07 A9 61 00 00 00 00 C8 00

This will create an iBeacon with the uuid E20A39F4-73F5-4BC4-A12F-17D1AD07A961 and major minor version 0,0.

To monitor for this iBeacon on you would use the following code:

- (void)viewDidLoad
{
    [super viewDidLoad];
    self.locationManager = [[CLLocationManager alloc] init];
    self.locationManager.delegate = self;
    NSUUID *uuid = [[NSUUID alloc] initWithUUIDString:@"E20A39F4-73F5-4BC4-A12F-17D1AD07A961"];
    self.beaconRegion = [[CLBeaconRegion alloc]                                    
                                    initWithProximityUUID:uuid
                                    identifier:@"test"];
                                    
    [self.locationManager startRangingBeaconsInRegion:self.beaconRegion];
}

- (void)locationManager:(CLLocationManager *)manager
        didRangeBeacons:(NSArray *)beacons
               inRegion:(CLBeaconRegion *)region {
    
    if ([beacons count] > 0) {
        CLBeacon *nearestBeacon = [beacons firstObject];
        
        self.beaconInfo.text = [NSString stringWithFormat:@"%fm",nearestBeacon.accuracy];
        
        NSLog(@"%d", [nearestBeacon.minor intValue]);
    }
}

It works! (not the most exciting app I admit…)

test

#ADAFRUIT #BLUETOOTH #BLUETOOTH DONGLE #IBEACON #IOS #RASPBERRY PI #UDEV RULES

Related Posts

Raspberry Pi BTLE Device - Just wrapped up the first iOSCon hackathon and had a blast tinkering with my Raspberry Pi, turning it into a full-fledged Bluetooth device in sync with an iPhone app. Used node for setting up and Bleno for creating Bluetooth low energy peripherals. Penned down each step for you to replicate, right from writing strings on my LCD to reading temperatures and getting notified of IR remote button clicks. Ran it on an app store or GitHub test application. Also, explored the Core Bluetooth framework for iOS app creation, for reading and writing data to the Raspberry Pi. Let's keep creating magic with technology!
Raspberry pi Infrared Receiver - In this fun tech adventure, I successfully managed to sync my infrared receiver to my Raspberry Pi. This involved correctly wiring up my IR sensor, installing and setting up LIRC, and creating a new lirc config file. I explained each step in detail and shared my major milestones, which included seeing a list of pulses when the remote was pointed at the receiver. Now my Raspberry Pi is fully controlled by my remote.
Raspberry Pi temperature sensor - In just a bit of time, I managed to successfully get my temperature sensor, the DS18B20, up and running on my new Raspberry Pi. My starter kit even included a ready made circuit board for the sensor, making wiring a no-brainer. After following the setup instructions and inputting a few commands, voilà, my temperature readouts were coming in loud and clear. Ready to tinker around and perhaps even move the connection pin if needed.
Forget SSH and vim, Use VSCode to Remote Develop on the Raspberry Pi - In this blog post, I share how you can avoid hassles of SSH and use VSCode for remotely developing on the Raspberry Pi. I walk through how to initially configure the Pi in a headless setup using the Pi imager app. Then, we install the 'Remote Development' extension in VSCode. I illustrate how easy it is to connect to the Pi using our SSH credentials, clone a GitHub project, and install python extensions. Finally, I explore how to run the code and debug it. However, note that the method doesn't support armv6, so you can't use it on Pi Zero.

Related Videos

Getting started with Raspberry Pi Pico - MicroPython - Learn how to get started with Raspberry Pi Pico by soldering headers, writing codes, and building a classic blinking LED project in this tutorial.
Reviving a Broken iPad: Transforming it into a Magic Mirror with Raspberry Pi Zero - Learn how to transform an old iPad 1 screen and a Raspberry Pi Zero into a Magic Mirror with this step-by-step guide! Enhance your home with this unique, DIY upgrade.
WiFi or BlueTooth - What's the best way to communicate with our things? - Discover the world of smart devices and the wireless connection options available for app developers, such as Bluetooth Low Energy and Wi-Fi. Learn about the history, performance, and challenges of these technologies and how to use them to build successful apps that communicate with hardware.
Build Your Own Custom Bluetooth Speaker with ESP32 & A2DP | DIY Audio Project - Learn how to repurpose old iPad speakers with a custom designed stereo I2S Class D amplifier, using EasyEDA for the schematic and PCB layout. Discover how to create a simple Bluetooth speaker using an ESP32 and a stereo amplifier for your DIY audio projects.
Lots of Stuff - And a NEW PCB! It's a rare mailbag video. - In today's episode, I'm unboxing some goodies from PCB way - my super tiny esp32 breakout boards, which I'm planning to use to recreate a mini TV complete with speakers and a display. Also received some convenient adapter boards for easier testing. Excited to explore a new Arduino Nano esp32 based on a different, tinier module, and contrasting it with other products like the Tiny Pico. Also up for testing is a new mini wear electronic load compared to my old one, and an ATX power adapter for more USB ports. I'll be testing power banks, playing with inexpensive yellow displays and nunchucks for fun gaming projects, and testing out an RGB bead curtain with hackable possibilities. Also, under my ongoing experiments is a Raspberry Pi zero, turning into a 'Doom' playing device with added sound and game controllers. Finally, an air quality measuring device for detecting air particles, CO2 levels, humidity, temperature and other parameters is up for exploration as well. A whole array of fun projects queued up, so stay tuned!
HELP SUPPORT MY WORK: If you're feeling flush then please stop by Patreon Or you can make a one off donation via ko-fi
Want to keep up to date with the latest posts and videos? Subscribe to the newsletter
Blog Logo

Chris Greening


Published

> Image

atomic14

A collection of slightly mad projects, instructive/educational videos, and generally interesting stuff. Building projects around the Arduino and ESP32 platforms - we'll be exploring AI, Computer Vision, Audio, 3D Printing - it may get a bit eclectic...

View All Posts